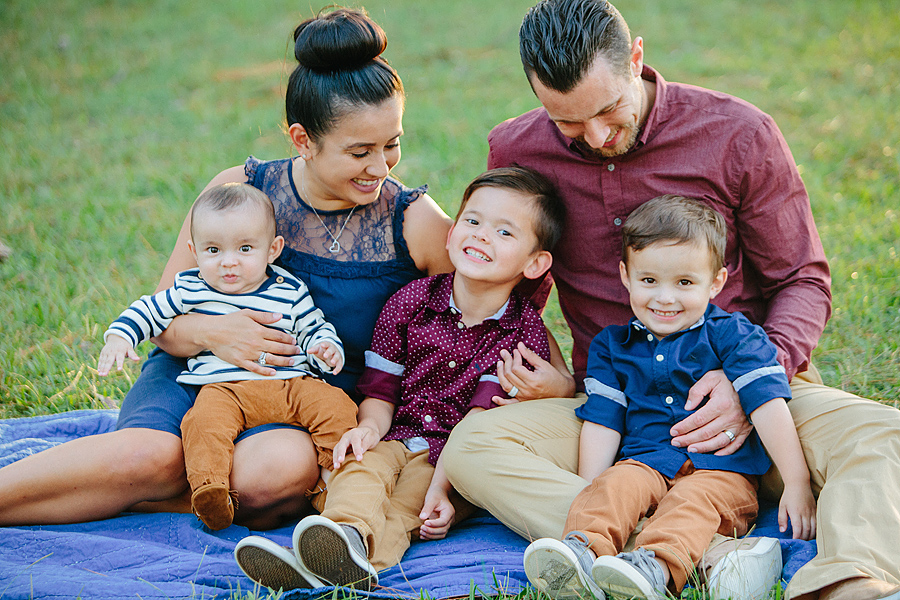
We are coming up to one of my favorite times of the year… fall! There is nothing like fall sunsets. They are so magical. This time of year also means portrait sessions for lot of my favorite families (some of you I have been photographing for well OVER a decade.. and what a blessing it […]
Hello! I am Jenny.
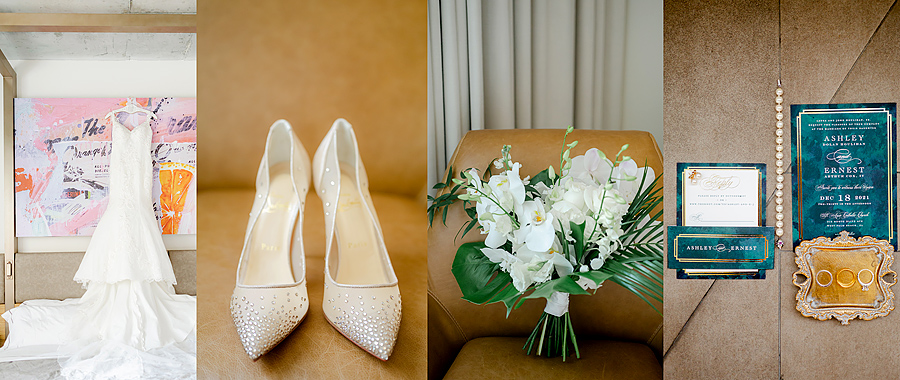
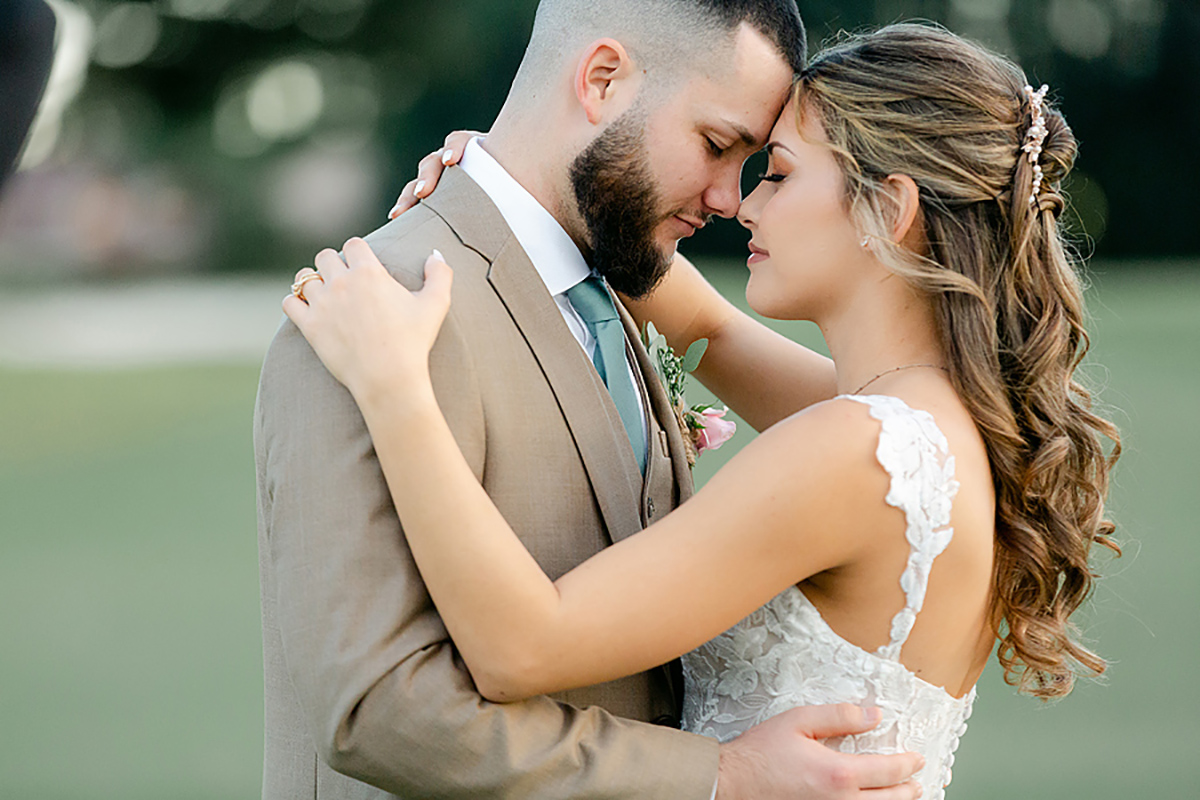
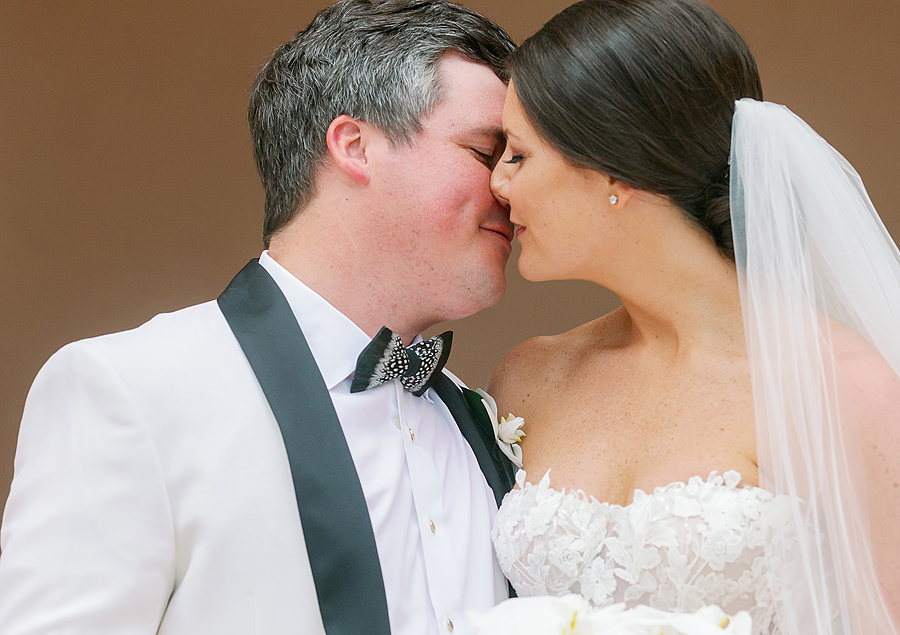
This is where you will see some of our latest work and a recap of wedding days from start to finish.
We have been blessed to tell stories for the past 14 years, so there is a lot to explore on here. Feel free to search your venue or location and look for ideas below.